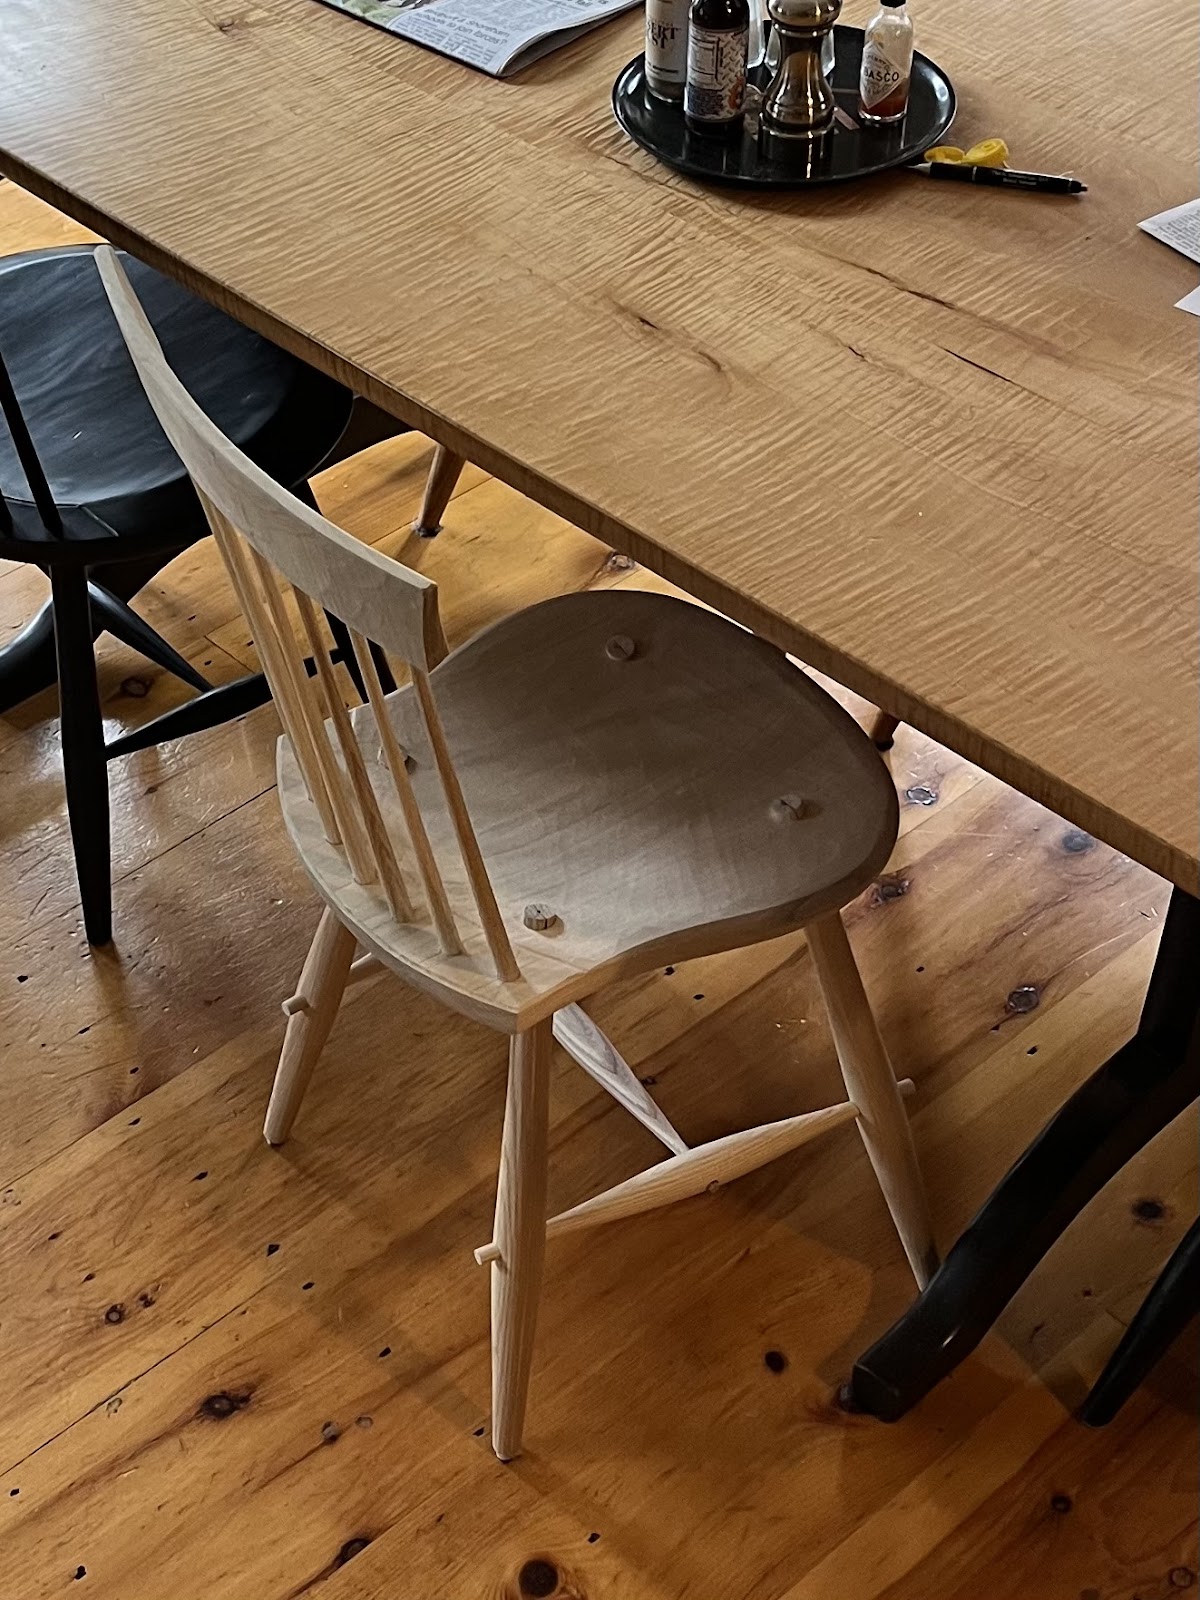
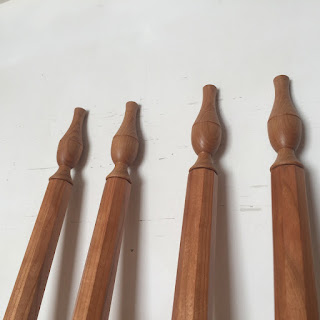
New chair designs, due to their many angles and complex shapes, can be a real challenge to 'get right' at the start. I need to see it together to know if it works or not. I am finally there with this one after a few starts and stops. That does not mean that I won't tweak it over time, but I am very pleased with this one now.
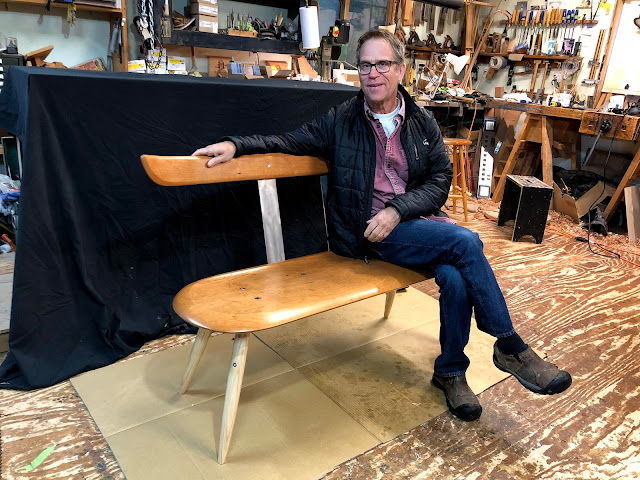
I named this the Kitchen Chair as it is on the small side of designs and reminds me of little traditional chairs that we no longer see very much of. These were seen at a country kitchen table and not a fancy dining room. At 160 pounds and around 5'9" tall, the chair works for me and it comfortable but not really a lounging chair. It may not be the thing for a larger person. The seat is nice and the back is flexible but maybe not an all day chair. I love the look and how it gives an uncluttered look around the table. It is easy to move around and to get in and out of. Perfect for a breakfast table in a small dining area, or yes, the kitchen.
This chair will be a perfect teaching chair. I have been wanting a design for classes and do not like the idea of teaching someone else's design. Finally, I had some time to work out this new design and I think it will work nicely for a class where students make their own chair. Take a look at my Classes portion of my website to see this and other classes that I am teaching out of my shop. https://www.timothyclark.com/classeshome.html
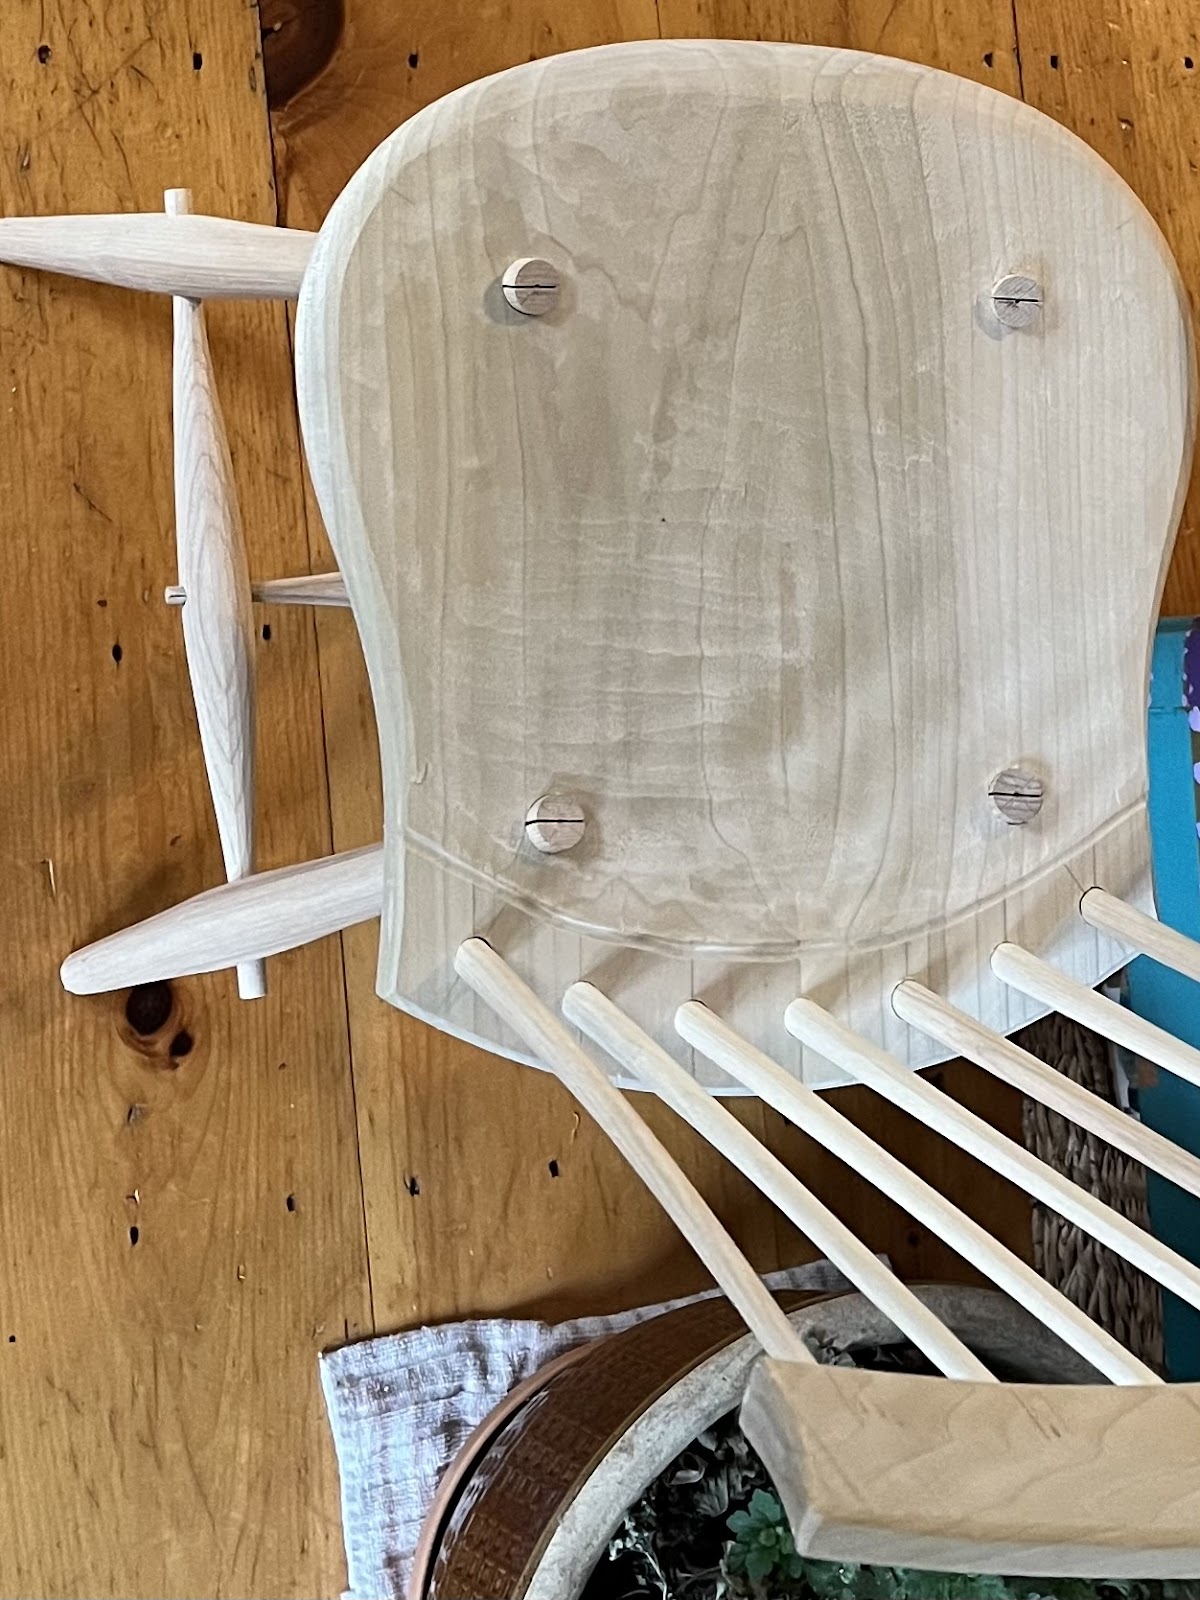
You will notice that this chair is still rough looking. It is dry assembled but not glued together. The interesting thing about Windsor chairs is that you could use one like this indefinitely and never finish it, as sitting in it only pushes the joints together unlike a table that will most likely fall apart when used if joints are not 'finished'. Still, I will finish it up soon with milk paint.


